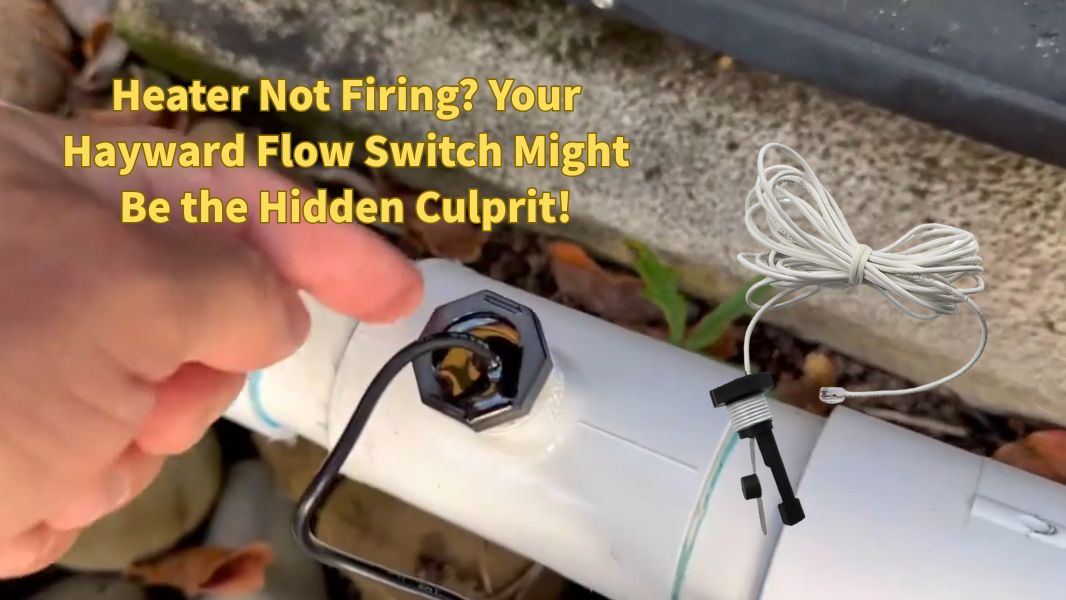
Heater Not Firing? Your Hayward Flow Switch Might Be the Hidden Culprit!
Share
Keep Your Pool Running Smoothly with a Hayward Flow Switch
A pool's filtration and heating systems are the heart of its operation, but they rely on a less-known hero to function safely: the flow switch. This small but mighty device ensures that water is flowing through your system before critical equipment like your heater or chlorinator turns on. Without a functioning flow switch, you risk costly damage from overheating and dry-firing.
If you're looking for a reliable replacement or an upgrade for your Hayward system, the GLX-FLO-RP flow switch is an excellent choice. This part is a complete replacement kit, designed for seamless integration and optimal performance.

What is a Flow Switch and Why Do You Need It?
A flow switch is a crucial safety mechanism in your pool's plumbing. It's a simple, electromechanical device that acts as a gatekeeper. Inside, it has a paddle or sensor that's pushed by the force of the water flowing through the pipe. When the water flow is sufficient, the switch closes an electrical circuit, allowing your equipment to operate. If the flow stops or is too low, the switch opens the circuit, shutting down your heater or other components to prevent them from running without water.
This is especially vital for pool heaters and salt chlorinators (like the Hayward AquaRite series). Running these devices without proper water flow can lead to:
- Heater Damage: The heat exchanger can quickly overheat and fail, leading to an expensive repair.
- Chlorinator Cell Failure: The salt cell can be damaged or its life reduced if it's producing chlorine without water to carry it away.
To understand the core function and potential risks, consider this summary:
| Component Monitored | Flow Switch Function | Risk Without Flow Switch (or Faulty Switch) |
| Pool Heater | Confirms water is flowing before allowing heating. | Heater element/exchanger can overheat, leading to damage. |
| Salt Chlorinator | Ensures water is present for chlorine generation. | Salt cell can be damaged or destroyed if dry-firing occurs. |
| Heat Pump | Protects compressor by verifying adequate water circulation. | Compressor can be damaged due to insufficient heat exchange. |
Signs It's Time to Replace Your Flow Switch
A faulty flow switch can be a frustrating problem. You might find that your heater won't turn on, or your chlorinator is showing a "no flow" error code, even though you can clearly see water circulating. Here are some common signs that your flow switch may need to be replaced:
| Symptom | Possible Cause | Action |
| "No Flow" Error on Panel | Clogged sensor, faulty wiring, or defective switch. | Inspect plumbing for blockages; test flow switch; replace if faulty. |
| Heater/Chlorinator Won't Start | Flow switch not sending "flow detected" signal. | Test flow switch continuity; replace if no signal. |
| Intermittent Operation | Loose connection, sticky paddle, or failing sensor. | Check all connections; test switch for consistent readings. |
| Visible Damage | Corrosion, broken paddle, cracked housing. | Immediate replacement recommended to prevent leaks/further issues. |
If you're experiencing any of these issues, replacing the old unit with a new, reliable one is a smart move. Our GLX-FLO-RP flow switch is engineered to be a direct and dependable replacement, ensuring your system's safety and functionality.
Easy Installation: Replacing Your Flow Switch
The good news is that replacing a flow switch is a straightforward DIY task for most pool owners. The GLX-FLO-RP kit is designed for simple, hassle-free installation. Always remember to turn off the power to your pool equipment at the breaker before you begin any work.

Here’s a quick overview of the installation process:
| Step | Description | Key Consideration |
| 1. Safety First | Turn off all power to pool equipment at the breaker. Close valves to isolate the work area and prevent water flow. | DO NOT skip this step. Ensure power is off to avoid electrical shock. |
| 2. Locate Old Switch | Identify the existing flow switch, typically in the plumbing line after the pump/filter and before the heater/chlorinator. | Note its orientation (flow direction) and wiring connections. |
| 3. Remove Old Switch | Carefully cut the old switch out of the PVC pipe, or unscrew if it's a threaded model. Drain any residual water. | Use appropriate tools; be mindful of existing plumbing. |
| 4. Prepare Plumbing | Clean and deburr pipe ends if cutting. Ensure surfaces are dry for PVC cement application. | A clean surface ensures a strong, leak-free seal. |
| 5. Install New Switch (GLX-FLO-RP) | Apply PVC cement to pipe ends and the GLX-FLO-RP's unions. Firmly press into place. Ensure the flow arrow on the GLX-FLO-RP points in the direction of water flow. | Flow direction is critical! Incorrect orientation will prevent proper function. |
| 6. Wiring | Connect the GLX-FLO-RP's wires to the control panel or existing wiring, following manufacturer's instructions. | Ensure secure, waterproof connections. If unsure, consult a professional. |
| 7. Test System | Reopen valves, check for leaks. Restore power. Run pump and observe if heater/chlorinator activate correctly. | Monitor for any error codes or unusual behavior. |
